- Back to Home »
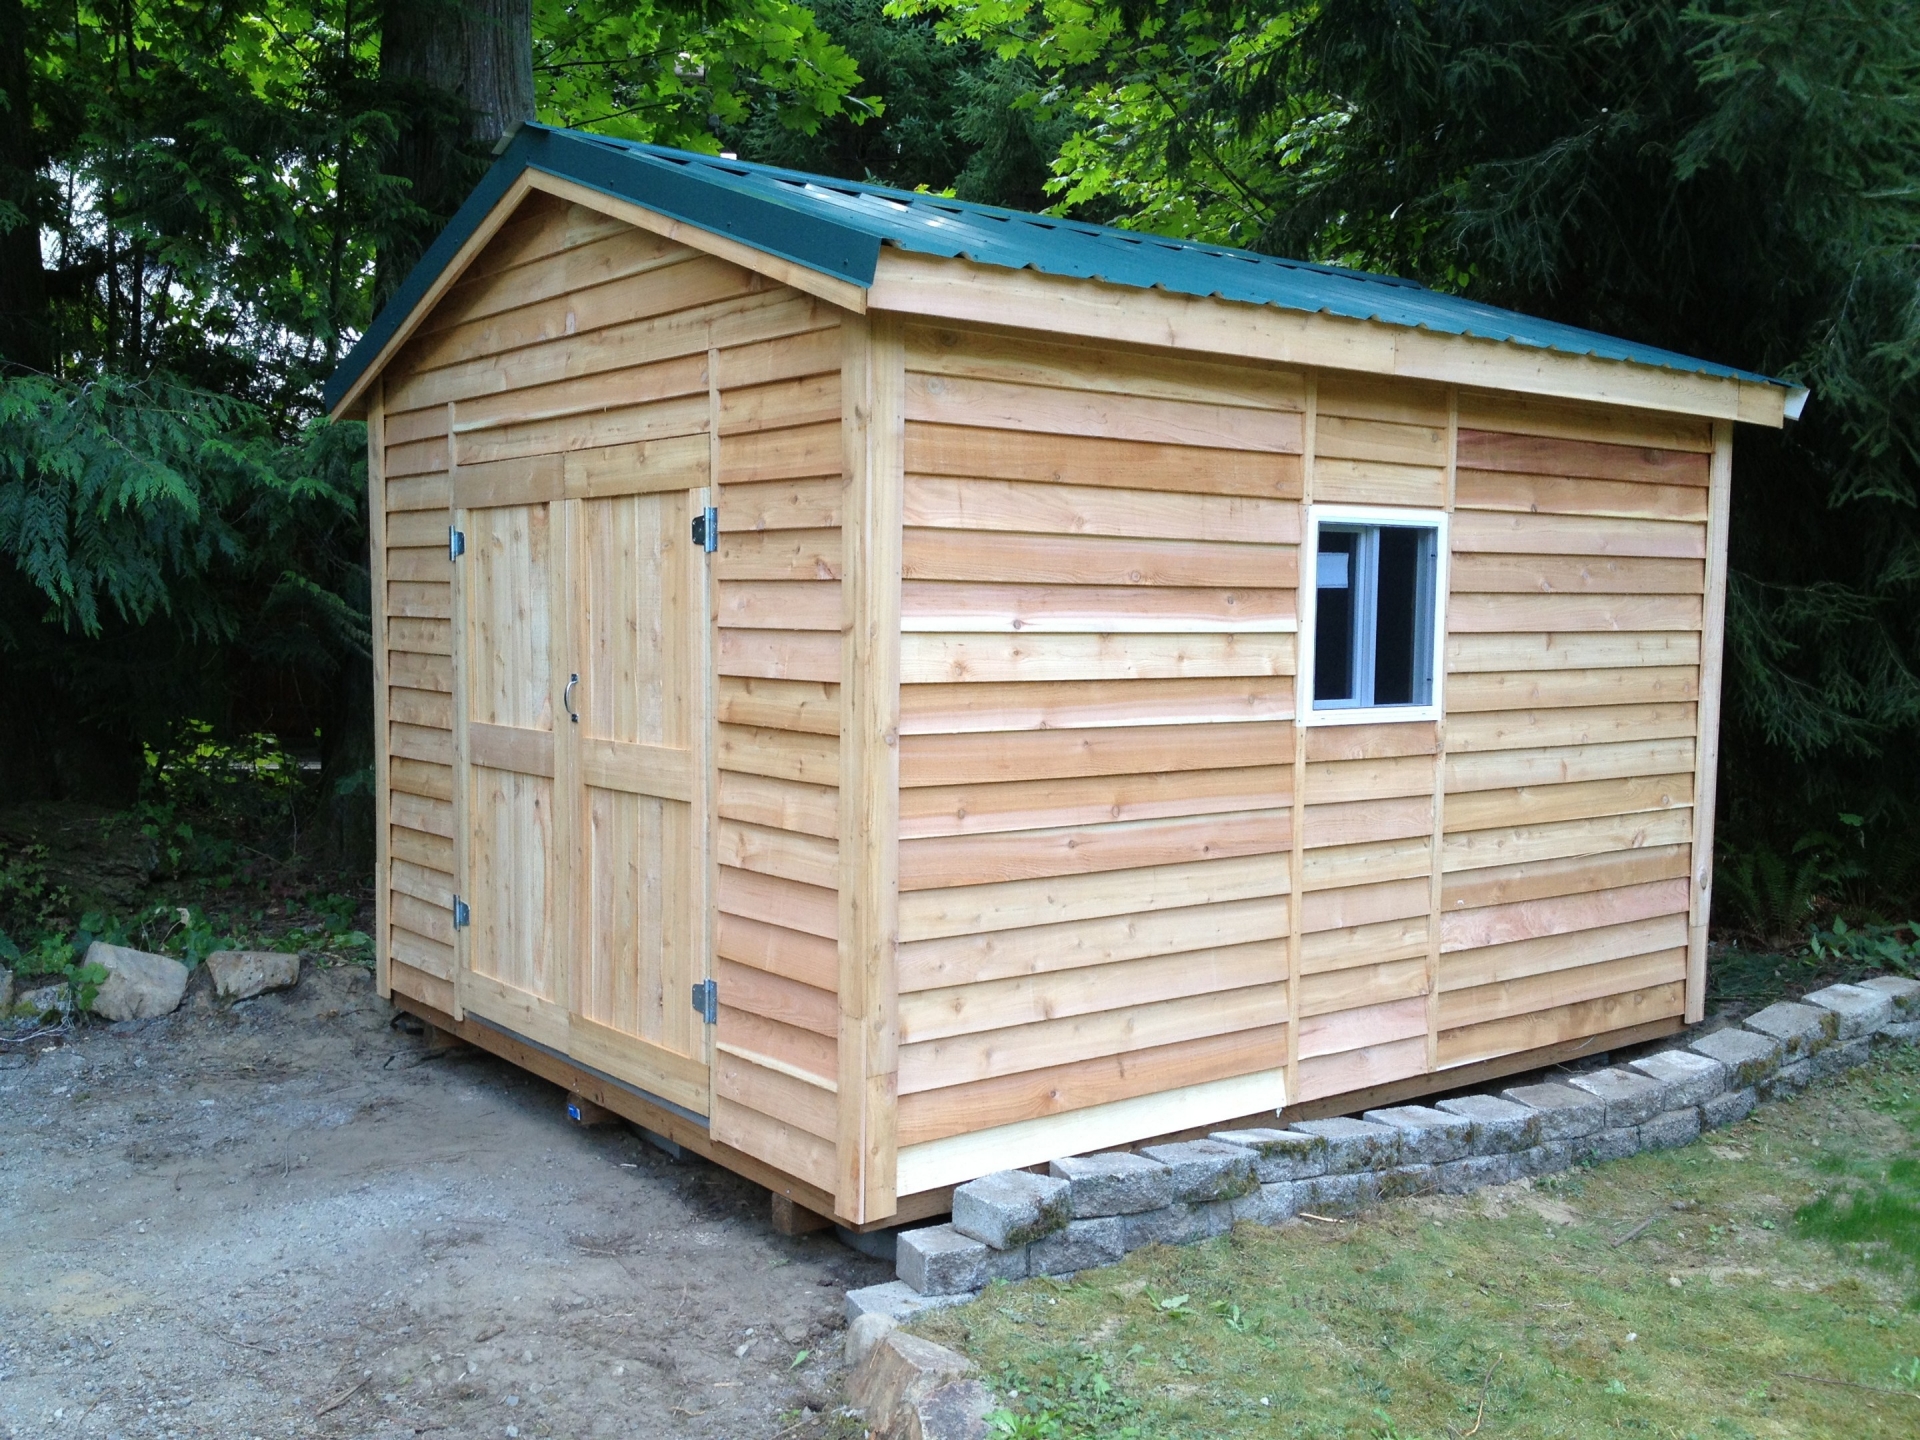
- How to build a 10x12 garden shed using basic tools

Alright, so you want to build a 10x12 garden shed, huh? That's awesome! You're about to embark on a journey of DIY glory, and I'm here to guide you through it. Let's get this show on the road, but before we start throwing lumber around, let's get a few things straight.
First things first, safety:
Building anything requires a certain level of safety awareness. You'll be working with wood, power tools, and possibly heavy lifting. Here's the rundown:
Wear safety glasses: It's not cool to get wood chips in your eyes.
Use ear protection: Those power tools can be loud, and your ears will thank you later.
Wear sturdy work gloves: You don't want to get splinters or cuts from all that lumber handling.
Follow the instructions: This is crucial. Don't skip steps or try to be a hero. It's better to be safe than sorry.
Gathering your tools and supplies:
Let's talk about the essentials you'll need for your shed construction:
Measuring tape: This is your best friend. You'll be measuring everything, so make sure it's accurate.
Level: To make sure your shed is...well, level. Nobody wants a leaning shed.
Circular saw: This will be your primary tool for cutting lumber.
Hand saw: Handy for smaller cuts and trimming.
Hammer: For pounding nails and securing everything together.
Screwdriver: For those stubborn screws and finishing touches.
Power drill: To drill pilot holes before driving screws.
Safety glasses and ear protection: As mentioned before, safety first.
Lumber: This is the backbone of your shed. Decide what type of wood you want (pine, cedar, etc.). You'll need a lot of it, so be prepared!
Sheathing: This goes over the framing and adds structural strength to your shed. Plywood or OSB are good choices.
Roofing shingles: You need a roof to keep things dry, right? Choose your desired roofing material.
Windows and doors: Consider what size and style you want. A simple door and a couple of windows will do the trick.
Paint or stain: To give your shed a touch of personality and protect the wood.
Hardware: This includes nails, screws, hinges, handles, etc.
Let's build this shed!
Okay, now that you've got everything you need, let's dive into the construction process:
1. Laying the foundation: This is where you decide what type of foundation you want. A concrete slab is the most solid option, but you can also get away with a gravel bed and treated lumber. Make sure the foundation is level and large enough to accommodate your shed.
2. Building the floor: This involves constructing a frame using treated lumber. Remember, this will be supporting the weight of your shed, so use sturdy lumber. Cut the pieces according to your measurements and secure them using screws or nails.
3. Erecting the walls: This is where you'll build the walls using studs, top plates, and bottom plates. Make sure you use a level to ensure the walls are straight. Remember to consider the location of your doors and windows during this process.
4. Framing the roof: The roof framing is where you'll need to get a little creative. You'll be building a series of rafters to support the roof sheathing. There are different roof styles (pitched, flat, etc.), so choose what you think looks best and is appropriate for your climate.
5. Sheathing the roof and walls: This adds structural strength and provides a surface to apply the roofing material. Use plywood or OSB sheets for this.
6. Installing roofing: You'll need to waterproof your roof, so make sure you use the appropriate roofing material. This could be shingles, metal roofing, or even a membrane.
7. Adding doors and windows: Install your pre-selected doors and windows securely, making sure they fit properly and are easy to open and close.
8. Finishing touches: This includes painting or staining your shed, adding trim around the doors and windows, and installing any interior shelving or storage solutions.
Tips and Tricks:
Don't rush the process: It's better to take your time and do things right than to rush and end up with a shoddy shed.
Pre-drill holes for screws: This prevents splitting the wood.
Use a level frequently: This ensures that your shed is square and level.
Measure twice, cut once: A simple but effective rule to prevent mistakes.
Don't be afraid to ask for help: If you're unsure about something, ask a friend, family member, or even a local lumberyard employee.
Finally, enjoy your new shed!
Building a shed is a rewarding experience, and you'll have a sense of accomplishment when you're done. It's a great place to store your tools, garden supplies, or even just relax and enjoy your backyard. So get out there, gather your materials, and let's get building!
Remember, this is just a basic overview. There are many different ways to build a shed, and the best way is the one that works best for you. Feel free to personalize your shed by adding your own unique features and details. Happy building!


