- Back to Home »
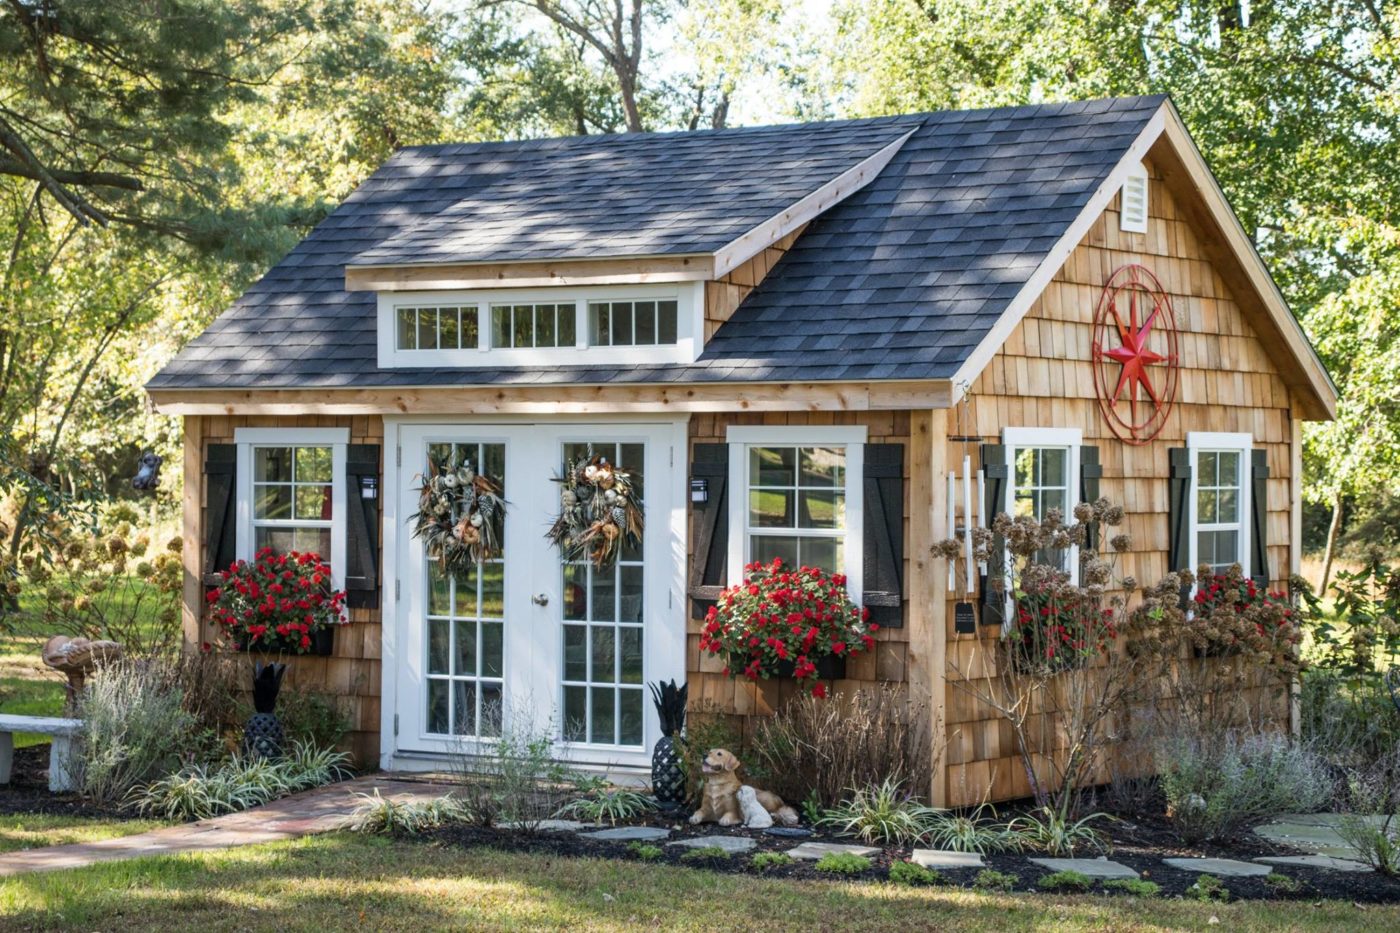
- How to build a 12x16 storage shed: a comprehensive guide for diy enthusiasts

Hey there, DIY enthusiasts! You're ready to tackle a project that'll give your yard a serious upgrade: building a 12x16 storage shed. It might seem daunting at first, but trust me, with a little planning and a lot of enthusiasm, you'll be amazed at what you can accomplish. Let's get started on this epic journey!
Planning Your Storage Shed: Laying the Foundation
First things first, let's think about what you'll be storing in this beauty. Do you need extra space for your tools, gardening supplies, or maybe even a motorcycle? Knowing what you'll be storing will help you determine the layout and features you'll need.
Location, Location, Location:
Choose a spot that's level, accessible, and has proper drainage. A sunny spot is nice, but if you're storing things that need protection from the elements, a shaded location might be a better choice. Don't forget about the wind! A sheltered spot will keep your shed standing strong.
Building Permit? Check!
In some areas, you might need a building permit for a shed. Check with your local building department to see if one is required. They can also give you guidance on any specific building codes you need to follow.
Design and Materials:
Now, let's get into the fun stuff - design and materials! There are so many options out there, from traditional wood to modern metal sheds. I like the classic look of wood, so we'll be focusing on that today.
Foundation: You have several choices here. A concrete slab is the most durable option, but also the most expensive. For something easier on the budget, consider a gravel foundation.
Floor: If you're going with a gravel base, you'll need to construct a floor. Pressure-treated lumber is a good choice for the floor joists and subfloor, as it's resistant to rot and decay.
Walls: For a sturdy and weatherproof shed, choose pressure-treated lumber for the wall framing and plywood for the sheathing.
Roof: A simple gable roof is easy to build and provides ample headroom. For the roof framing, use dimensional lumber and plywood for sheathing.
Siding: Choose siding that complements your home and protects your shed from the elements. Vinyl, fiber cement, or even wood siding are all good choices.
Roofing: Asphalt shingles are a popular and budget-friendly option for roofing. Consider adding a layer of roofing felt underneath for extra protection.
Doors and Windows: These are the final touches that will make your shed feel complete. Think about the size and number of doors you need based on what you'll be storing, and consider adding a window or two for ventilation.
Getting Started: Gathering Your Tools and Materials
Now that you have a plan in place, let's gather everything you'll need.
Tools: You'll need the standard set of carpentry tools like a circular saw, drill, hammer, tape measure, level, and sawhorses.
Materials: Make a detailed list of all the materials you'll need, including lumber, plywood, fasteners, siding, roofing shingles, door and window frames, and any necessary trim.
Time for Construction!
1. Laying the Foundation: Start by preparing the site. Remove any vegetation, level the ground, and mark out the dimensions of your shed. If you're going with a gravel foundation, dig down to the required depth and lay down a layer of gravel. For a concrete slab, follow the instructions for pouring concrete.
2. Framing the Walls: Once the foundation is ready, build the wall frames. Cut the studs to the correct length and attach them to the plates at the top and bottom. Use a level to ensure the walls are plumb and square.
3. Framing the Floor: Build the floor joists and attach them to the wall plates. Add the subfloor on top of the joists, using pressure-treated lumber to resist moisture.
4. Raising the Walls: Carefully raise the walls and secure them to the floor. Use bracing to keep the walls straight until they are securely fastened.
5. Framing the Roof: Build the roof trusses, using a rafter square to ensure the correct angle. Attach the trusses to the wall plates and secure them in place.
6. Sheathing the Walls and Roof: Attach plywood sheathing to the exterior walls and roof to provide a solid base for the siding and roofing.
7. Installing the Siding and Roofing: Install the siding, making sure to overlap the sheets for waterproofing. Then, install the roofing shingles, starting at the bottom and working your way up.
8. Installing Doors and Windows: Finally, install the doors and windows. Make sure they are properly sealed and weatherproofed.
Finishing Touches:
1. Painting or Staining: Paint or stain your shed to your liking, adding a pop of color to your backyard.
2. Adding Shelves and Storage Solutions: Organize your storage space with shelves, hooks, and other storage solutions.
3. Landscaping: Complete the look by adding landscaping around your shed, such as plants, mulch, or pavers.
Congratulations!
You've done it! You've built a beautiful and functional storage shed. Take a moment to admire your hard work and enjoy the satisfaction of knowing you built it yourself.
Pro Tips:
Measure twice, cut once! This is essential in carpentry, so don't rush the process.
Use quality materials. They'll last longer and make your shed more durable.
Don't be afraid to ask for help. If you need assistance with any part of the process, don't hesitate to ask a friend or family member.
Take breaks and enjoy the process! Building a shed can be a lot of fun, so don't forget to step back and appreciate your progress.
Building a 12x16 storage shed is a rewarding project that will enhance your yard and give you a great sense of accomplishment. Remember, take your time, follow the steps, and enjoy the process. You've got this!


