- Back to Home »
- How to Build a Pole Barn with a Concrete Floor

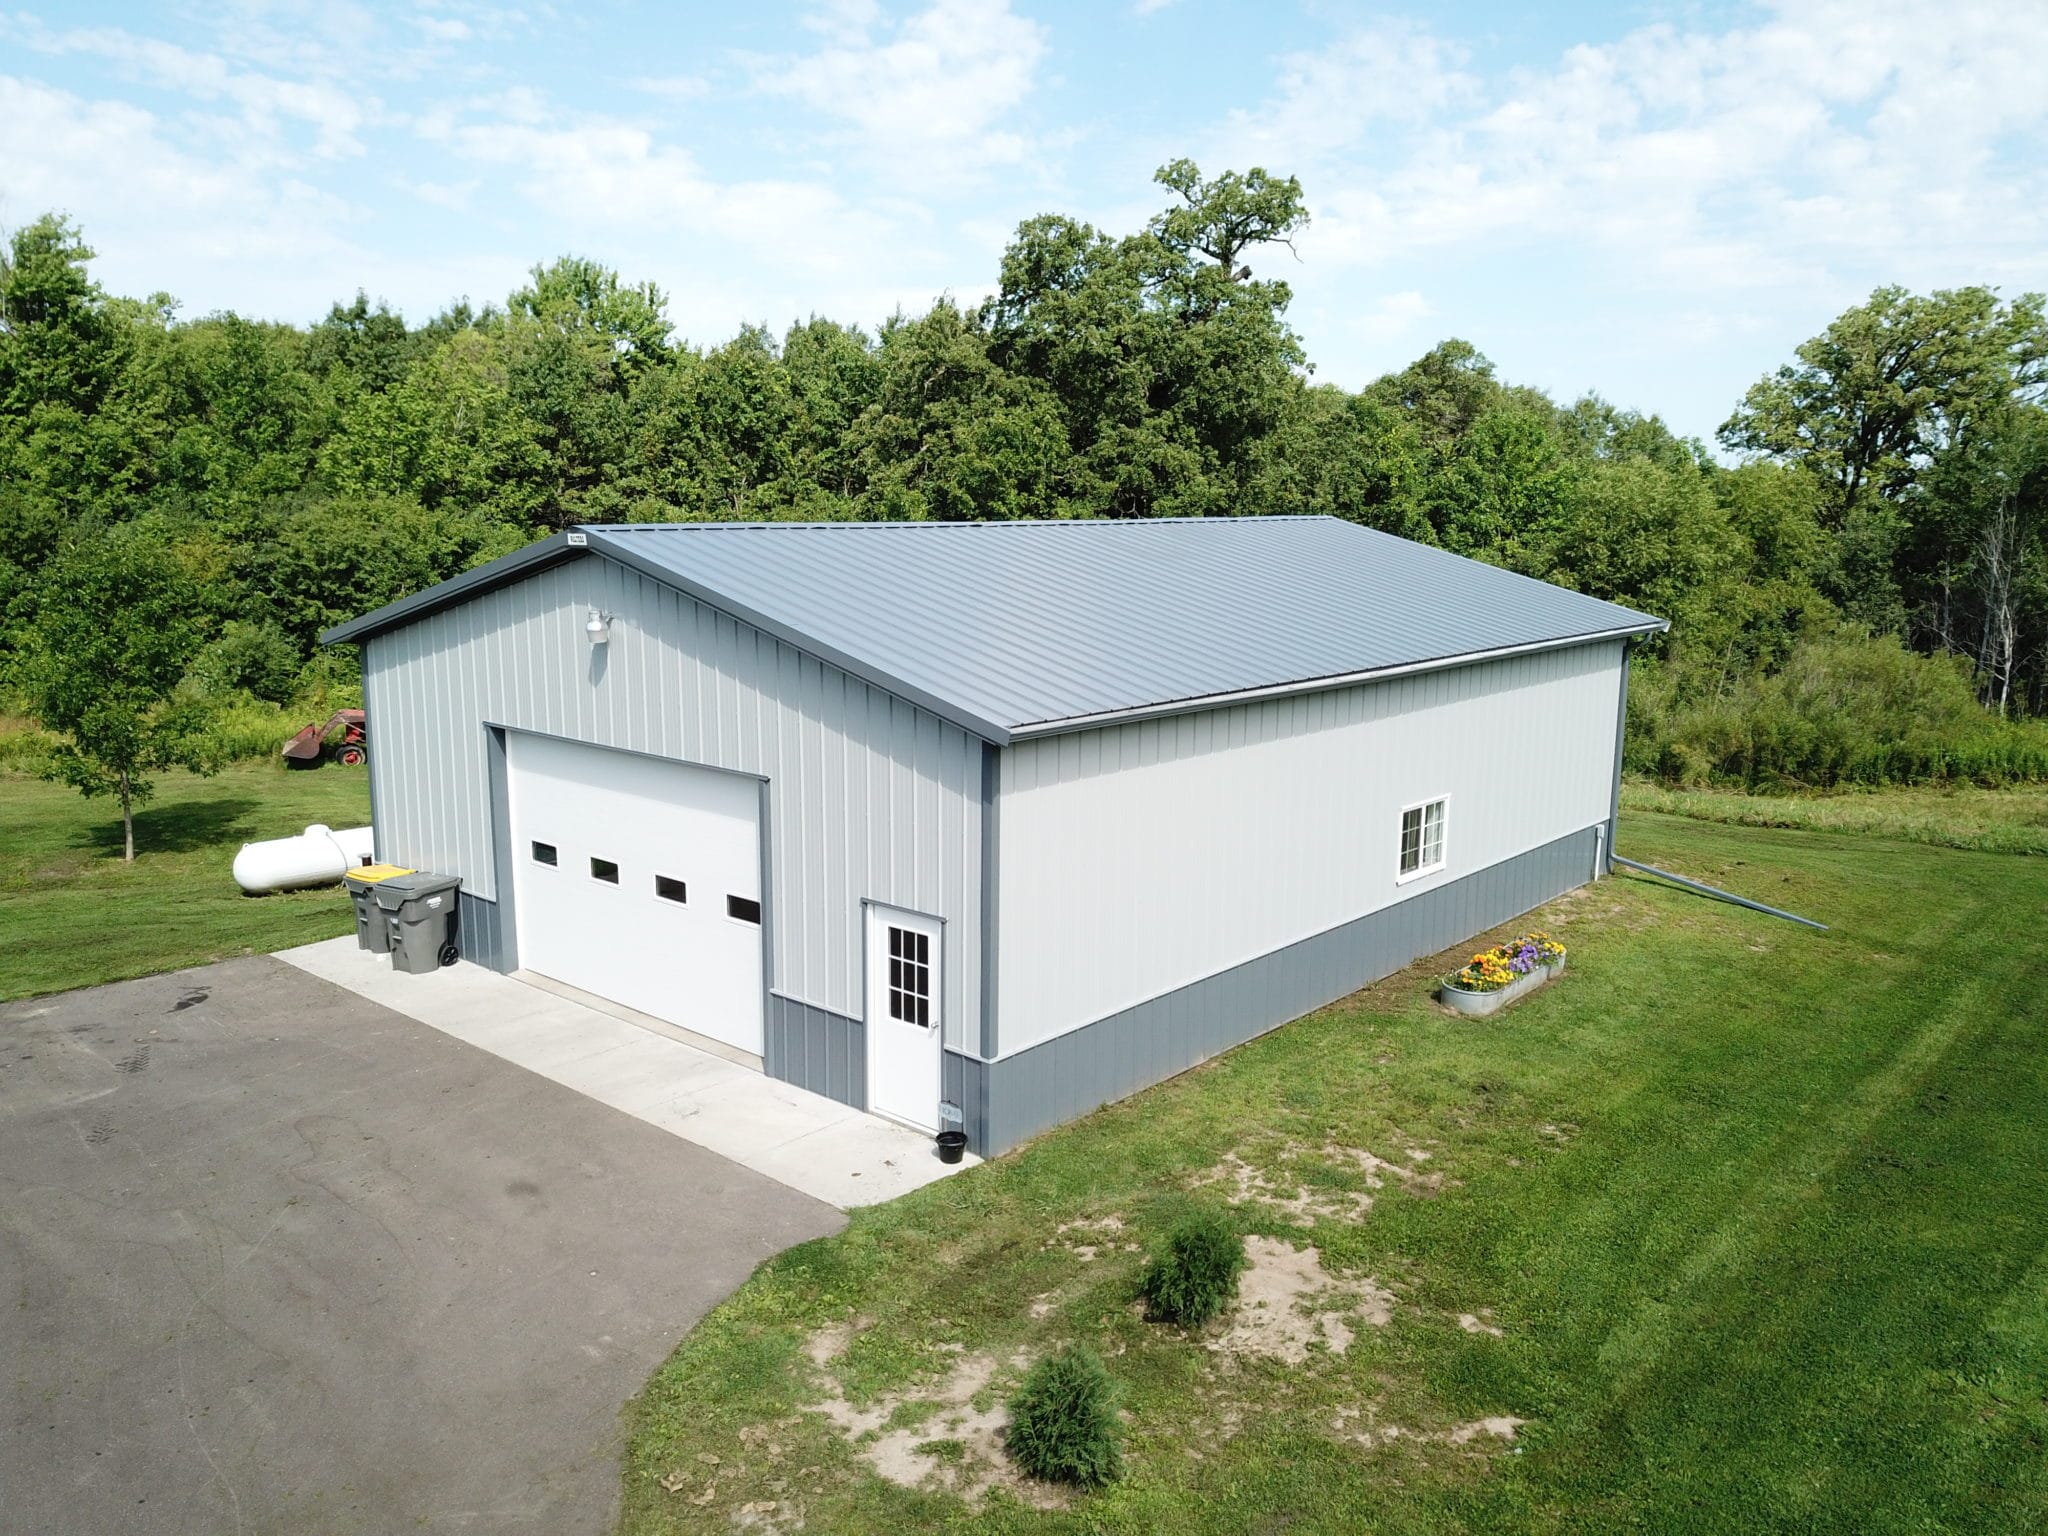
Hey there, fellow DIYer! You've got that dream in your head - a spacious, versatile pole barn. A place for everything from your prized vehicles to your workshop, or maybe even a cozy living space. And you've decided to go for it, with a concrete floor to top it all off. Awesome! This is going to be a fun journey, and I'm here to walk you through it, step by step.
Step 1: Getting Your Foundation Right
Before we even start thinking about concrete, we need a solid base. Think of your pole barn as a house - without a good foundation, things will start to wobble and crack. Now, you've chosen a pole barn, which means the foundation is going to be made of sturdy, deep-set poles. This is different from a traditional house foundation, but still requires careful planning.
Choose the right poles: You've got options here - steel is durable and long-lasting, but wood is a classic choice. Make sure the poles you choose are pressure-treated to resist rot and insects.
Dig those holes: You'll need to dig holes for your poles deep enough to reach frost-free soil. This varies based on your location, so check with your local building department.
Set the poles: Once the holes are dug, you'll need to install the poles, ensuring they're level and plumb. For extra stability, you can add concrete to the holes around the poles.
Step 2: Planning Your Concrete Floor
Now we're getting to the good stuff! A concrete floor is a blank canvas, perfect for whatever your barn needs. But before we mix the concrete, we need to plan it out.
Measure twice, cut once: Accurate measurements are key to a smooth, level floor. Use a tape measure and chalk line to mark out the area where the concrete will be poured.
Think about your needs: Will you be using heavy machinery in your barn? Do you need a smooth, level surface for vehicles? This will help you choose the right thickness and type of concrete.
Consider drainage: A slightly sloped concrete floor will help with drainage, preventing water from pooling and causing problems. You can create this slope using a level and some sand.
Step 3: Preparing the Soil and Sub-base
The concrete floor needs a stable, well-compacted base to rest upon. Here's where you'll be doing some hard work!
Clear the area: Remove any debris, rocks, or vegetation from the area where the concrete will be poured. This is easier than trying to do it after the concrete is set.
Compact the soil: Use a compactor or tamper to compact the soil, ensuring a firm base. This will prevent settling and cracking of the concrete.
Install a sub-base: For extra strength and insulation, you can add a layer of gravel or crushed stone as a sub-base. This also helps with drainage and prevents the concrete from freezing in cold weather.
Step 4: Building Forms
Now it's time to create the shape of your concrete floor. This is where the forms come in.
Choose your materials: Forms can be made from wood, steel, or even plastic. Wood is a popular and affordable choice, but make sure you use pressure-treated lumber to prevent rotting.
Build the forms: The forms need to be sturdy and able to withstand the pressure of the wet concrete. Use stakes and bracing to keep the forms in place.
Check for level: Use a level to ensure the forms are perfectly level. This is crucial for a flat, even concrete floor.
Step 5: Mixing and Pouring the Concrete
Now for the exciting part! Mixing and pouring the concrete can be a big job, but it's also satisfying to see your floor take shape.
Choose the right mix: You'll need to decide between pre-mixed concrete or a mix you make yourself. Consider the strength and workability required for your project.
Prepare the mix: If you're mixing your own concrete, make sure you follow the instructions carefully. The right mix is essential for a strong, durable floor.
Pour the concrete: Start pouring the concrete from one end of the forms, working your way across. Use a shovel to spread the concrete evenly and tamp it down to remove air pockets.
Step 6: Finishing the Concrete Floor
The final step is to give your concrete floor a smooth, polished look.
Level and smooth: Use a trowel to level and smooth the surface of the concrete, creating a uniform finish.
Add texture (optional): You can add texture to the concrete using a broom, float, or other tools. This can create slip resistance and a decorative look.
Curing the concrete: After pouring, the concrete needs time to cure properly. Cover the floor with plastic sheeting to prevent it from drying out too quickly.
Step 7: Adding Finishing Touches
Once the concrete has cured, you can add finishing touches to personalize your pole barn floor.
Paint or stain: Add color to your floor using paint or stain. This can help to protect the concrete and create a more polished look.
Add insulation: Adding insulation beneath the concrete can help to create a warmer and more comfortable space.
Seal the floor: Sealing the concrete will protect it from stains, spills, and wear and tear. Choose a sealer that's suitable for your needs.
Congratulations! You've just built a beautiful, functional pole barn with a durable concrete floor. Now you can enjoy your new space for years to come!
Remember: Building a pole barn with a concrete floor is a big project, so it's important to plan carefully and take your time. Don't be afraid to ask for help from experienced professionals if you need it. And most importantly, have fun with the process! Building your own pole barn is a rewarding experience that you'll cherish for years to come.


