- Back to Home »
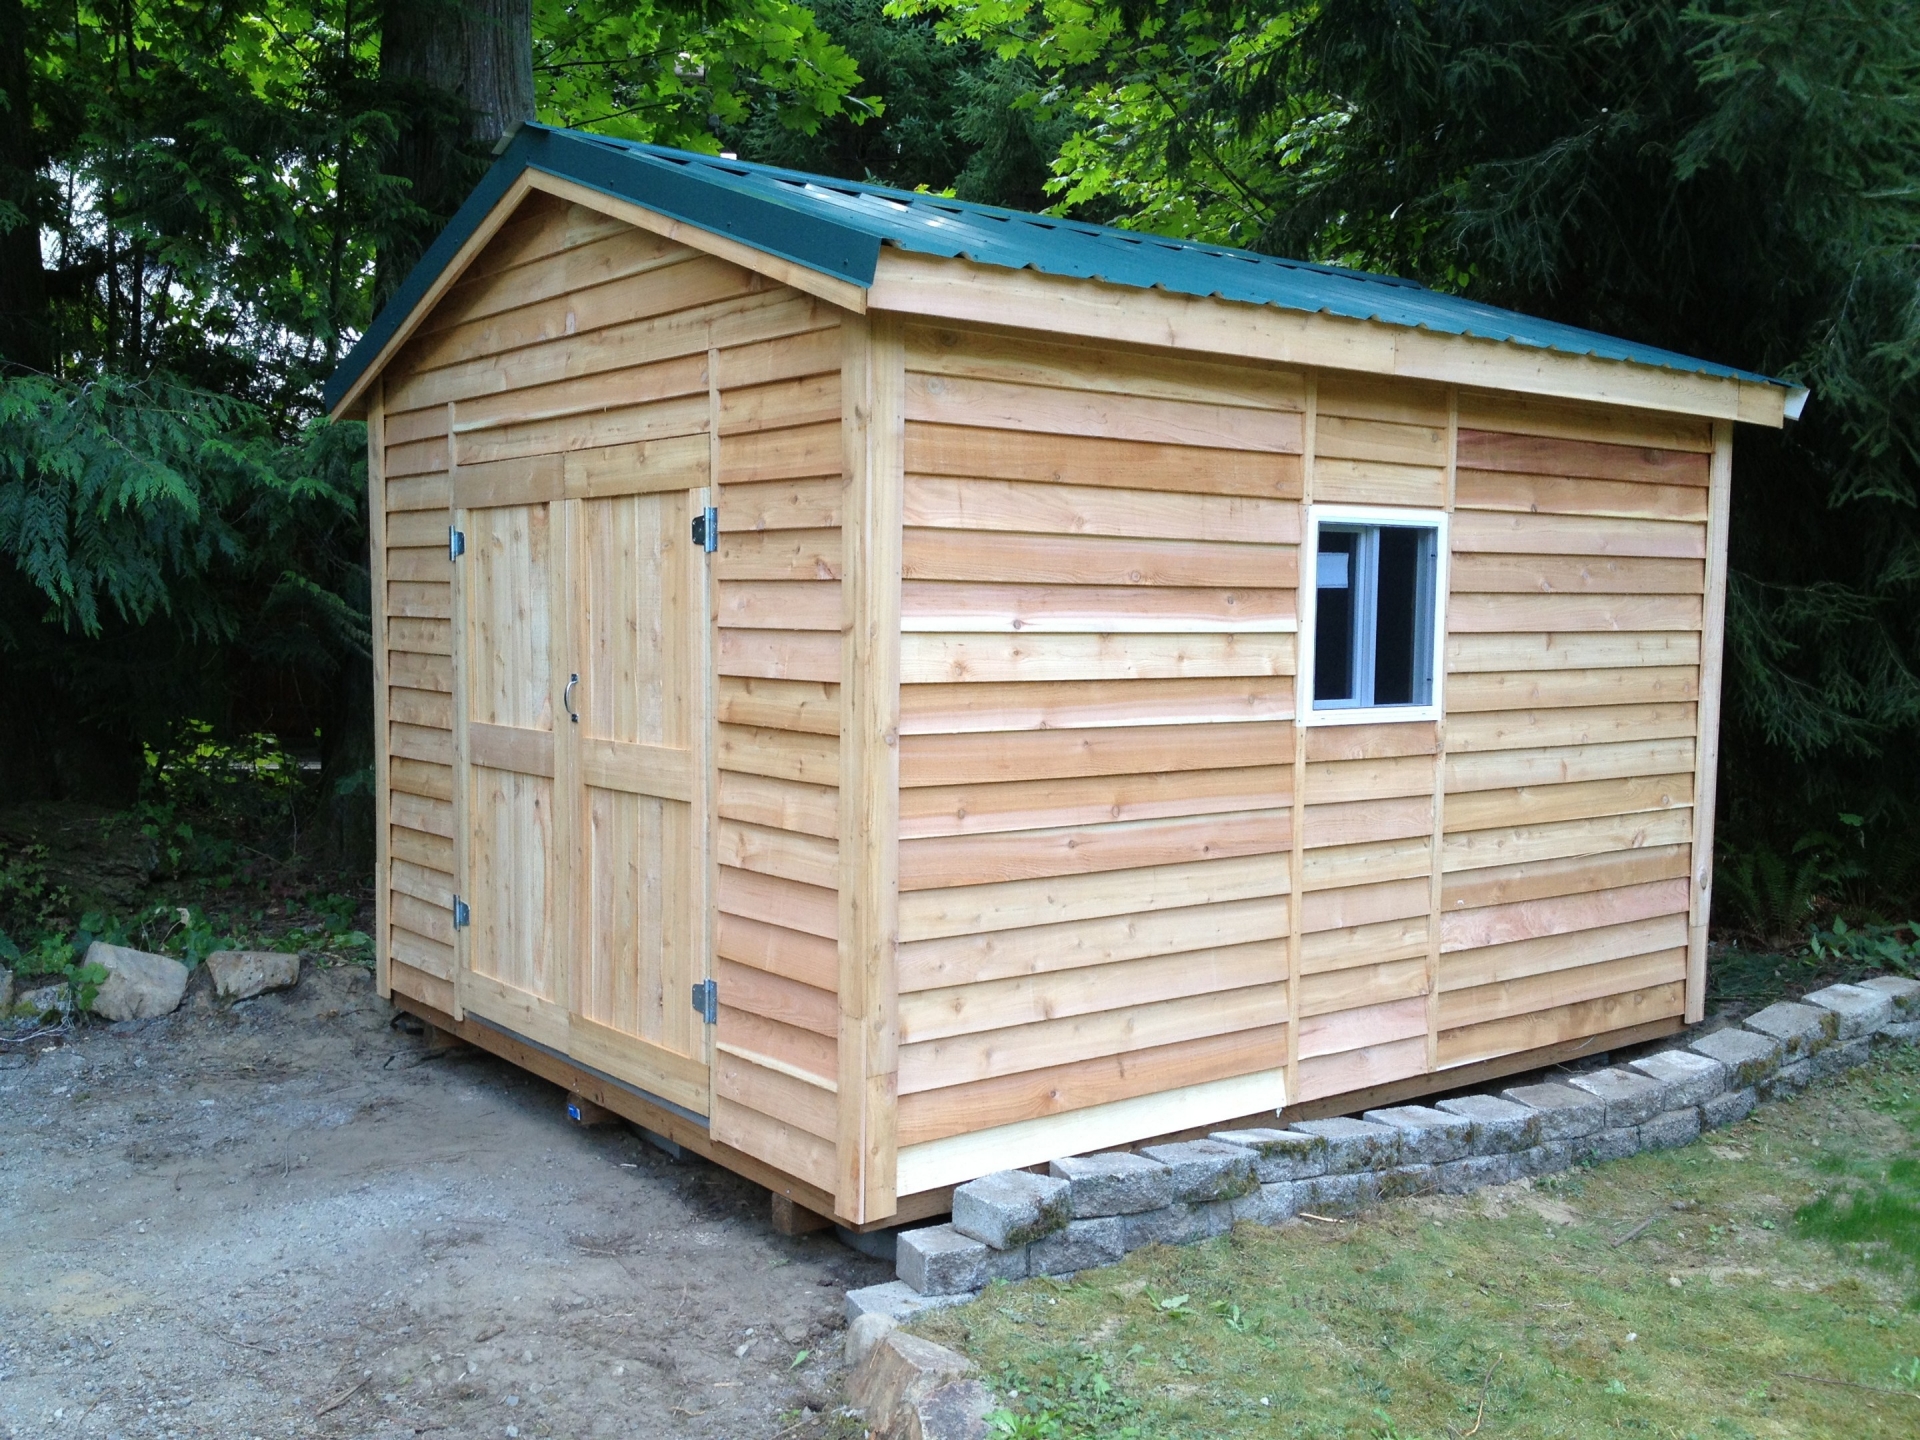
- How to create a strong and sturdy 10x12 storage shed

Alright, let's talk sheds. You're tired of clutter, your garage is overflowing, and you're dreaming of a dedicated space to store your stuff. A 10x12 shed is a great size for most folks, but you want it to be sturdy and last for years. Not some flimsy thing that blows over in the first windstorm!
So, buckle up, grab your tools, and let's build a shed that'll stand the test of time.
Planning is Key: The Foundation of Your Fortress
Before you even think about grabbing a hammer, let's lay some solid groundwork.
Location, Location, Location: Think about where your shed will go. Consider sunlight, drainage, and proximity to your house. Do you need it close to a power outlet?
Permit Check: Some municipalities require permits for sheds, so check your local building codes. You don't want to start building only to be told to tear it down later.
Foundation Choice: There are a few options:
Concrete Slab: Durable and level, but it's a bit more work and expense.
Wood Floor Joists: Great if you're building on ground that drains well. You'll need pressure-treated lumber for the bottom joists.
Concrete Blocks: A simple and cost-effective option, especially if you're on a budget.
Material Selection: Go for pressure-treated lumber for the foundation and any parts that will touch the ground. For the rest, good quality framing lumber will do the trick.
Building the Bones: Frame & Walls
Now, the fun part - putting up the walls!
Framing: You'll need to build a strong frame for your shed. I recommend using 2x4 or 2x6 lumber for the walls.
Wall Studs: Space the studs 16 inches apart for stability. Don't forget to use a level to make sure everything is plumb!
Top Plate and Sole Plate: These are horizontal pieces of lumber that hold the studs together at the top and bottom of the walls.
Sheathing: This is what goes over the frame to give your walls some strength and rigidity. OSB (Oriented Strand Board) is a popular and affordable choice.
Cutting and Attaching: Cut the sheathing panels to fit and attach them to the studs with screws. Use a nail gun or hammer for a fast and secure connection.
Window and Door Openings: Measure carefully and cut the openings for your windows and doors before sheathing the walls.
Roofing: Protecting Your Investment
A strong roof is crucial for any shed, especially if you live in a region with heavy snowfall.
Rafters: These are the angled pieces of lumber that support the roof. Choose the right size and spacing for your roof pitch.
Roof Sheathing: Just like the walls, you'll need to add sheathing to the roof. OSB is a common choice for roofing sheathing as well.
Underlayment: This is a layer of felt paper that goes underneath the shingles. It helps to prevent leaks and adds another layer of protection.
Shingles: Asphalt shingles are a popular and affordable option for shed roofs. Choose a color that complements your house or the surrounding landscape.
Finishing Touches: The Finishing Touches
Your shed is almost complete! Here's how to make it look great and be fully functional:
Siding: Siding adds a layer of protection and makes your shed look finished. You can choose from a variety of materials, including vinyl, wood, or metal.
Trim: Adding trim around windows, doors, and the edges of the roof can give your shed a more polished look.
Flooring: Now you can add a floor. Choose plywood, OSB, or even concrete for a more durable floor.
Door and Window Installation: Install your windows and door now, using weather stripping to seal any gaps and prevent leaks.
And Don't Forget the Extras!
There are so many options for adding extra features to your shed:
Lighting: You'll want to be able to see inside your shed, especially when it's dark. Install LED lights or a simple light fixture.
Ventilation: Add vents to the roof or walls to help with airflow and prevent moisture build-up.
Shelving and Storage: Maximize space with built-in shelves, hooks, or pegboard.
Painting: Give your shed a fresh coat of paint to protect it from the elements and add a personal touch.
Safety First!
Building a shed is fun, but it's important to stay safe:
Wear Safety Glasses: Always protect your eyes from flying debris.
Use a Ladder Safely: Make sure your ladder is in good condition and positioned correctly.
Never Work Alone: Have someone around to help in case of an accident.
Congratulations, You've Built a Fortress!
You've done it! You've built a strong, sturdy, and functional shed that will serve you well for years to come. Now you have a place to store all your stuff and finally get that garage organized.
Remember, building a shed can be a fun and rewarding project. Take your time, plan carefully, and enjoy the process. Happy building!


